


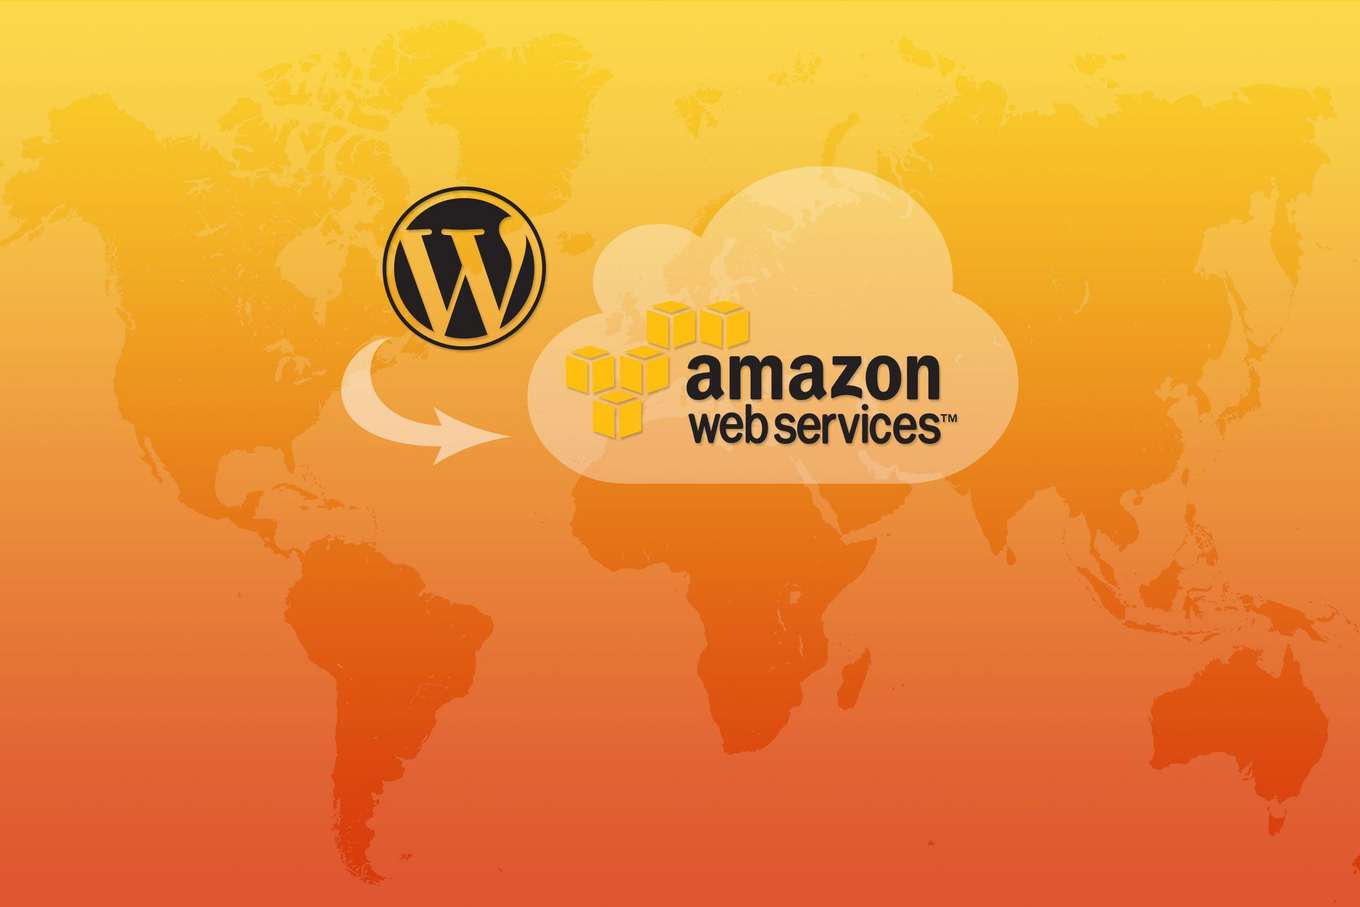
If you have landed here to find out how you can host WordPress on Linux AMI EC2 Instance, you are absolutely at the right place and you will find the detailed instructions here. This guide will be so detailed that even a newbie and novice could also follow it and get the thing done.
NOTE: At the time of writing this guide I used my Macbook air. So there might be a few places where there might be instruction differences for other systems (Example – Windows).
I will be very precise and to the point. Though I will elaborate on all the important things in deep will not waste anyone’s time explaining useless stuff.
Step 1: Create an EC2 Instance and Choose Linux AMI as your instance. You will be asked to create Key Pair. To create and download it and keep it in a safe place to be accessible at a later stage.
Step 2: Use Console, (In the case of Windows, use putty) to ssh into your EC2 instance. Before using the SSH command, you need to provide necessary permission and security to the folder containing your Security Key (.pem file). To provide this permission you need to execute this command :
chmod 400 Ankit.digital.pem {Replace Ankit.digital.pem with your actual keypair name}
Now use the SSH command which will look like this –
ssh -i "ankit.digital.pem" [email protected]
Installing LAMP web server on Amazon Linux AMI.
Step 3: Before you can install WordPress on your AWS EC2 instance, you need to create a server environment where you can create and host your WordPress installation.
3.1 -> Execute this command after your ssh login. sudo yum update -y
This command will install and update a few necessary software on your server to create LAMP.
3.2 -> Now you need to install Apache server, MySQL, and PHP software packages on your instance. To do this, you need to run this command : sudo yum install -y httpd24 php70 mysql56-server php70-mysqlnd
3.3 -> Start the apache server using this command : sudo service httpd start
3.4 -> Run the following command for your apache server to start every time your system boots : sudo chkconfig httpd on
3.5 -> For your EC2 instance to be publicly viewable using its public IP, you need to create an inbound security rule in the security group. To do this, you need to visit your EC2 dashboard. Choose your instance and go to the last column with the name ” Security Group “. Click on the security group linked with your EC2 instance.
Visit the inbound tab and click on Edit. Click Add rule and then put the following details.
- Type: HTTP
- Protocol: TCP
- Port Range: 80
- Source: Custom
3.6 -> Now you need to test whether your EC2 instance is publicly accessible on the HTTP port or not. To test this, you need to copy your public IP and paste the same into your browser. If everything will be correct, you should see the default test page for the apache server.
Step 4: Give a proper set of permissions to your EC2 user to edit your apache server. To do so, run the following commands :
[ec2-user ~]$sudo usermod -a -G apache ec2-user
[ec2-user ~]$exit
4.1 -> Reconnect to your instance using ssh login and then run the following command.
[ec2-user ~]$sudo chown -R ec2-user:apache /var/www
[ec2-user ~]$sudo chmod 2775 /var/www
[ec2-user ~]$find /var/www -type d -exec sudo chmod 2775 {} \;
After all these commands are executed above, the EC2 user is now able to add, delete and edit in the apache root.
Step 5: Now test your LAMP web server.
5.1 -> Create a test PHP file in your apache root. To do this, you need to run this command : [ec2-user ~]$echo "<?php phpinfo(); ?>" > /var/www/html/phpinfo.php
5.2 -> Open this test file created in the above step. To do this, you simply need to paste your public IP along with the file name. The correct format is http://publicIP/phpinfo.php. If things are okay as yet, you must see the test page as shown below :
5.3 -> Now that you have tested the existence of this file, you must delete it for security reasons. To do so, run this command : [ec2-user ~]$rm /var/www/html/phpinfo.php
Step 6: Secure your database. Setup password for the same.
[ec2-user ~]$sudo service mysqld start
Initializing MySQL database:

...
PLEASE REMEMBER TO SET A PASSWORD FOR THE MySQL root USER !

...
Starting mysqld: [ OK ]
Step 6: Install MySQL on your server. To do this execute this command : [ec2-user ~]$sudo mysql_secure_installation
Note that by default there’s no password, so just press enter. And now you will be prompted to create a new password. Do that and then remove anonymous user, remote root login, test database, and reload privilege table. All this can be done by following on-screen instructions.
6.1 -> You should stop the server now using this command : [ec2-user ~]$sudo service mysqld stop
6.2 -> For your MySQL server to start at every boot, you must execute this command : [ec2-user ~]$sudo chkconfig mysqld on
Step 7: Install PHPMyAdmin. Though this is an optional step it’s helpful in handling databases and granting permissions using the user interface.
7.1 -> If you’re logged out from your instance, ssh into your ec2 instance.
7.2 -> Run the following command to install the required dependencies : sudo yum install php70-mbstring.x86_64 php70-zip.x86_64 -y
7.3 -> Restart your apache server using this command : sudo service httpd restart
7.4 -> Go to apache root using the command : cd /var/www/html
7.5 -> Download and install the PHPMyAdmin latest release from the official website. Execute the following command to do this : wget https://www.phpmyadmin.net/downloads/phpMyAdmin-latest-all-languages.tar.gz
mkdir phpMyAdmin && tar -xvzf phpMyAdmin-latest-all-languages.tar.gz -C phpMyAdmin --strip-components 1
rm phpMyAdmin-latest-all-languages.tar.gz
7.6 -> Start your MySQL server using this command : [ec2-user ~]$sudo service mysqld start
7.7 -> Finally you have installed the PHPMyAdmin on your server and you can access it via http://publicIP/phpMyAdmin/. Enter the user “root” and password that you have created in the above steps.
Step 8: Finally you have created a proper server environment for your WordPress installation to run on. Now you just need to download and install WordPress on your server.
8.1 -> Download WordPress using : [ec2-user ~]$wget https://wordpress.org/latest.tar.gz
8.2 -> Unzip the downloaded file : [ec2-user ~]$tar -xzf latest.tar.gz
8.3 -> Create a Database and its respective user for your WordPress. You can do it via command or via PHPMyAdmin. Before this start your SQL server : sudo service mysqld start
[ec2-user ~]$mysql -u root -p
CREATE USER 'wordpress-user'@'localhost' IDENTIFIED BY 'your_strong_password';
CREATE DATABASE `wordpress-db`;
GRANT ALL PRIVILEGES ON `wordpress-db`.* TO "wordpress-user"@"localhost";
FLUSH PRIVILEGES;
exit
8.4 -> Create a wp-config.php file and edit it with relevant database details. We will do so by copying existing wp-config-sample.php and pasting its content into wp-config.php
cp wordpress/wp-config-sample.php wordpress/wp-config.php
nano wordpress/wp-config.php {I am using Macbook air, so the nano command works pretty well on it. You can use any other editor also that you are comfortable with }
Move on to the section where Database details are mentioned. Just edit those details with your own created details in the above steps.
define(‘DB_NAME’, ‘wordpress-db‘);
define(‘DB_USER’, ‘wordpress-user‘);
define(‘DB_PASSWORD’, ‘your_strong_password‘);
After editing these details save the file and exit the editor.
8.5 -> Now move this WordPress folder to your apache root so that it can be publicly accessible via your public IP.
8.6 -> Now we shall write a few security permission for WordPress to access the apache server.
[ec2-user ~]$sudo nano /etc/httpd/conf/httpd.conf
Find the section that starts with <Directory "/var/www/html">.
<Directory "/var/www/html">
    #
    # Possible values for the Options directive are "None", "All",
    # or any combination of:
    #   Indexes Includes FollowSymLinks SymLinksifOwnerMatch ExecCGI MultiViews
    #
    # Note that "MultiViews" must be named *explicitly* --- "Options All"
    # doesn't give it to you.
    #
    # The Options directive is both complicated and important.  Please see
    # http://httpd.apache.org/docs/2.4/mod/core.html#options
    # for more information.
    #
    Options Indexes FollowSymLinks

    #
    # AllowOverride controls what directives may be placed in .htaccess files.
    # It can be "All", "None", or any combination of the keywords:
    #   Options FileInfo AuthConfig Limit
    #
    AllowOverride None # # Controls who can get stuff from this server. # Require all granted </Directory>
In this section, you need to edit “AllowOverride None” with “AllowOverride All”
Save the file and exit your editor.
8.7 -> Now we need to run a few commands to fix File permission for the apache web server.
[ec2-user ~]$sudo chown -R apache /var/www
[ec2-user ~]$sudo chgrp -R apache /var/www
[ec2-user ~]$sudo chmod 2775 /var/www
[ec2-user ~]$find /var/www -type d -exec sudo chmod 2775 {} \;
Restart the webserver : sudo service httpd restart
8.8 -> Now you need to visit to your public IP address through your web browser to proceed with WordPress installation. You will be able to see the basic WordPress installation page. Just follow the onscreen instructions and you will be able to install WordPress on that IP.
Finally, you are done with all the steps of WordPress installation on Amazon Linux AMI. In case, something doesn’t make sense to you, you can simply email me at Ankit @ editsoftdigital[.]in or leave your comments below. I shall be quick in solving your problem.
Thanks.


")

")